Laravel Telescope
🗒️ Introduction
Laravel Telescope is an elegant debug assistant for the Laravel framework. Telescope provides insight into the requests coming into your application, exceptions, log entries, database queries, queued jobs, mail, notifications, cache operations, scheduled tasks, variable dumps and more. Telescope makes a wonderful companion to your local Laravel development environment.
This adapter package provides you with abillity to also log and debug your Cycle ORM queries in Laravel Telescope.
📀 Installation
Step 1: Install Telescope
Install, telescope as usual, via Composer package manager:
composer require laravel/telescopeStep 2: Add .env Configuration
Add the following configuration to your .env file:
...

DB_USE_TELESCOPE_LOGGER=true

...
Step 3: Publish Telescope Assets
After installing Telescope, publish its assets and migrations using the telescope:install Artisan command.
php artisan telescope:installStep 4: Run Telescope Migrations trough Cycle-ORM-Adapter
After installing Telescope, you should also run the migrate command in order to create the tables needed to store Telescope's data, but as you are using Cycle ORM, you should avoid using default php artisan migrate command, and instead, do the following steps:
Run the following command to create the Telescope tables:
php artisan cycle:migrate:init

php artisan cycle:orm:migrate --split --run
Step 5: Add the CycleORM Query Watcher
Next, edit your config/telescope.php configuration file and add the following lines to the watchers array, right after the defaultWatchers\QueryWatcher::class line:
return [
    // ...

    'watchers' => [
        // ...
        Watchers\QueryWatcher::class => [
            'enabled' => true,
            'ignore_packages' => true,
            'ignore_paths' => [],
            'slow' => 100,
        ],

        WayOfDev\Cycle\Bridge\Telescope\Watchers\QueryWatcher::class => [
            'enabled' => true,
            'ignore_packages' => true,
            'ignore_paths' => [],
            'slow' => 100,
        ],
    ],
    // ...
];
Step 6: Access Laravel Telescope
Finally, you may access the Telescope dashboard via the /telescope route. Of course, don't forget to start your Laravel application:
php artisan serve🎉 Final Result
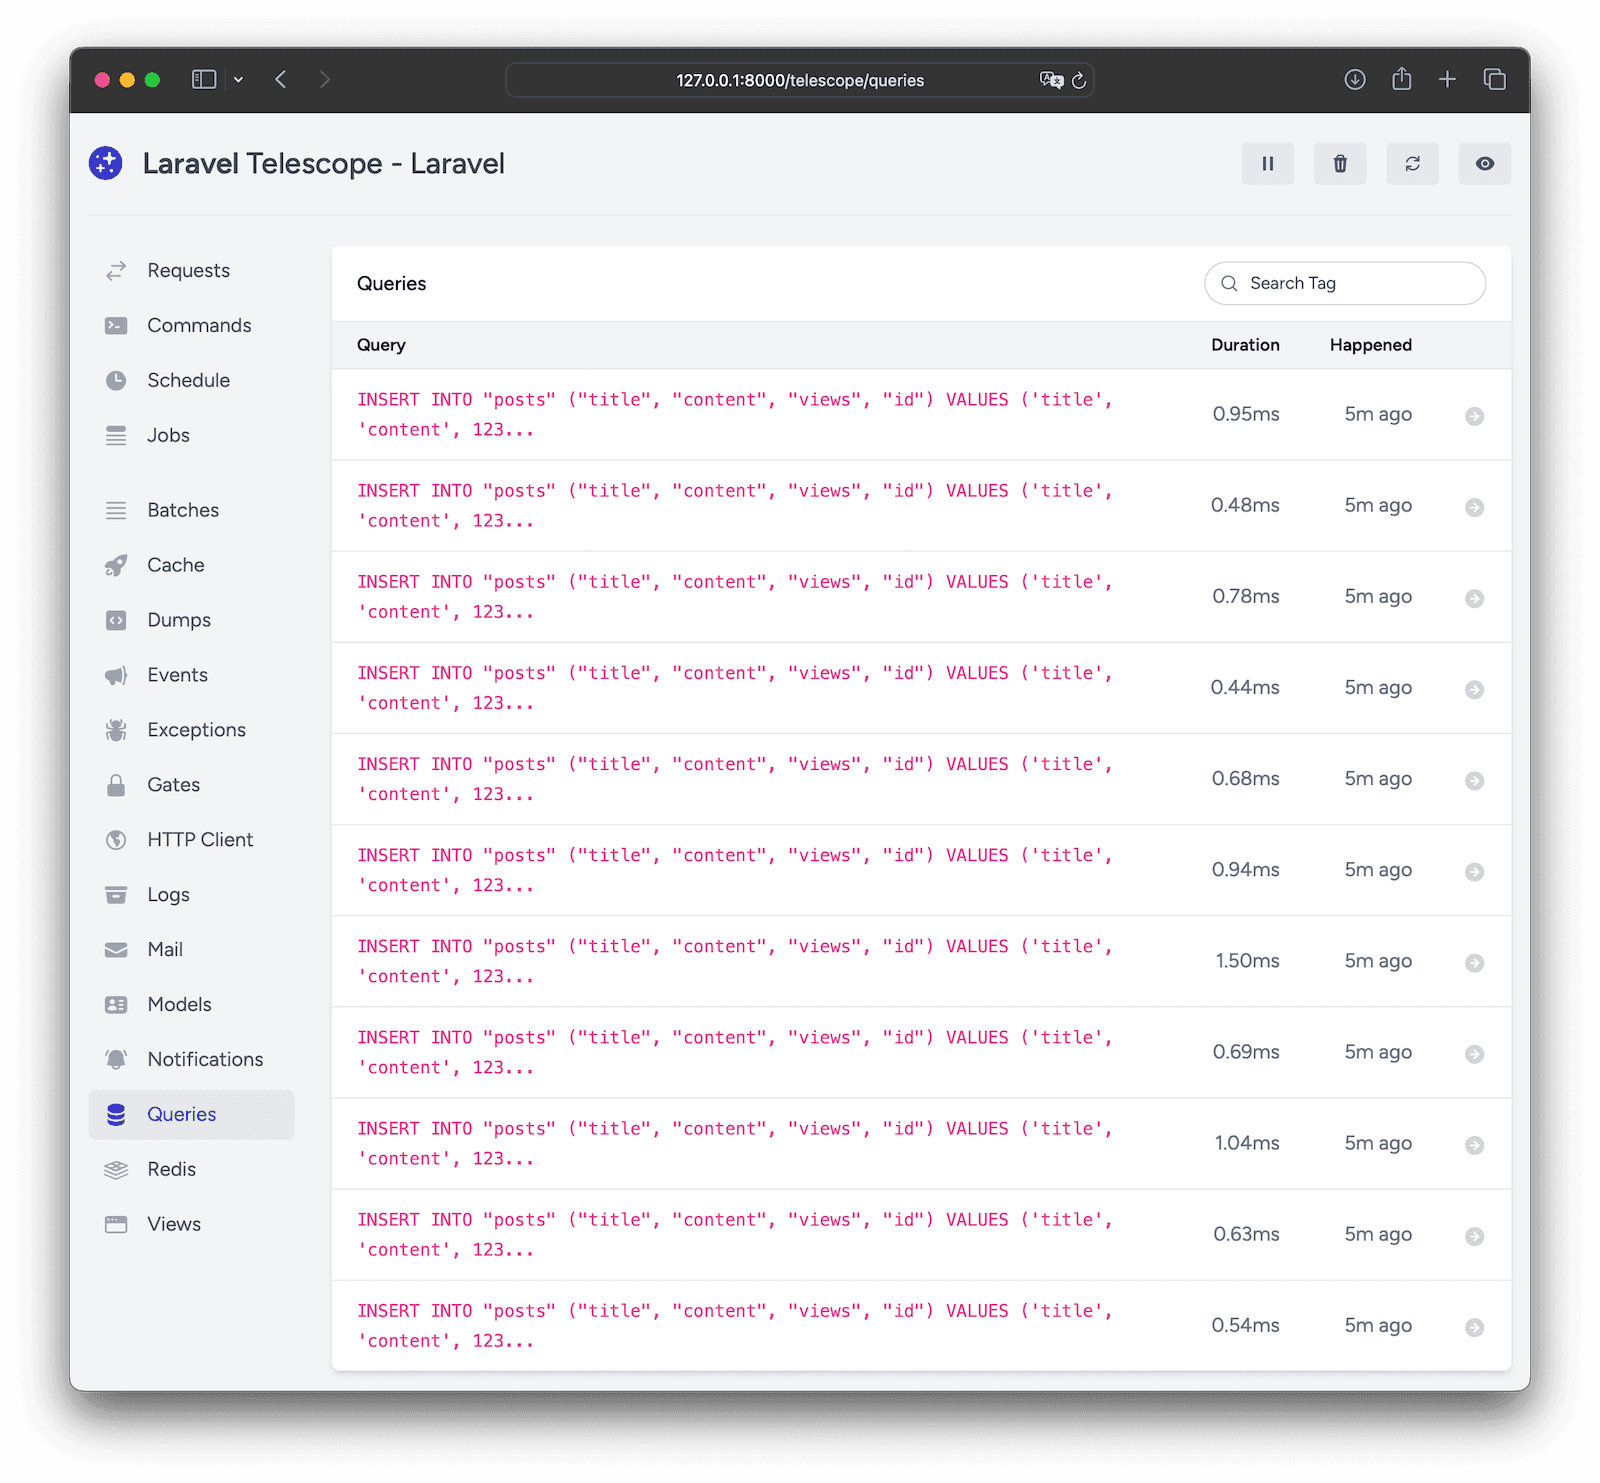
Now, you can access the Laravel Telescope dashboard and see all the CycleORM queries executed by your application.
